
Surprisingly Pink: Avocado Pit Dye

With a few strategies and a little luck, avocado pits can dye fibers a pleasing pink….yes, pink!
When you’re new to natural dyeing, the promise of pink from avocado is unexpected. The skin looks black. The flesh creamy green. And the pit just looks brown.
Trust me- those pits, and even the skins, can be full of pretty, pretty pink. And that creamy, green flesh? Well, as far as I know, it’s only food. No pink there.
But how does one turn guacamole food waste into those sophisticated colors?

STEP ONE: Clean off your stones (pits).
I use a kitchen sponge and scrub the pits until they are free from all green, fleshy bits. You can make your dyebath immediately or dry the stones for later use. I put mine in the dish rack at first, but then move to a plate on the kitchen island where they will not get splashed with dishwater and they have plenty of air circulation.
P.S. If you don’t like this step head over to the shop where you can simply buy a bag of pits to play with!
Step TWO: Do NOT BOIL THE DYEBATH
I know you’re thinking that I’ve messed up and that step two should simply read “make the dyebath”. Nope. I want you to know this before you even think about making a dye bath.
BOILED PITS = BROWN
PATIENCE = PINK
This is the most important factor when coaxing pink from avocado pits. There are many other variables that may hinder your efforts, but I find I can get pink pretty regularly if I follow this main rule. I’ve used old pits from no avocados in particular, with plain old well water, and still achieved gorgeous pink.
Never, ever boil the dyebath.
Ever.
STEP THREE: Make the DYebath
Some amount of pits needs to go into some amount of water in some sort of non-reactive pot.
I usually weigh the dyestuff and start with at least an amount equal to the weight of my fibers. One yard of Supima cotton interlock weighs just over a half pound, so a half pound of stones will be plenty. That means a single garment might only need a few stones.
The amount of water will depend on what exactly you’re dyeing. An entire yard of fabric you want evenly dyed requires a lot more water that a tank top tied up like a puck for “scrunch” dyeing. Don’t worry about diluting the color. The amount of color available to the fibers doesn’t actually change-it’s all still there!
I prefer to let the bath go through a few cycles of heating and cooling to really draw out the colors. I use a potato masher to crush the stones when they are tender and wow, even more color saturates the bath. The gal at Kaliko reminds us that it is “the time not the heat that produces the richest hues.” So, no boiling, right?

STEP FOUR: Strain the bath and add your fibers
Some dyers insist that the color is deeper if they forego straining and just plop the fibers in with all the dyestuff in the bath. I usually only do this for testing purposes. I’m often working with barks and roots which tend to have much debris, even after rinsing. Some of this debris can be rich in minerals that end up marring what would be a very even dye job. I hate those little specks! So, I have a habit of straining.
If you can, strain with a mesh sieve and a good piece of cheesecloth. This can be done in one step or two.
Add prewetted fibers to the bath. Mordant first if you like. I tend to “set” dyes with my own iron or copper liquors at the end, but I never have with avocado. You’ll have to do some experimenting of your own.
STEP FIVE: WAIT… STIR…WAIT Some more
Let those fibers steep. You may warm the bath, but don’t boil. Allow the fibers to sit in the bath overnight, stirring occasionally to avoid uneven dyeing. If the color is not sufficiently pink you can try shifting the pH with an alkaline modifier, but patience alone might be enough. There is some oxidative “magic” that actually turns the bath pinker as time go on.
FINISHING TOUCHES
I usually rinse my items as I pull them from the dyebath, but some dyers swear by letting them rest for a week or so before rinsing. I like the idea of capturing as much color as possible, but I haven’t tried this yet.
If you really want your hand held while you embark on dyeing with avocado pits (or skins), consider a course with Rebecca Desnos. She actually has one just for dyeing with avocado. It sounds super-maybe I’ll see you there!
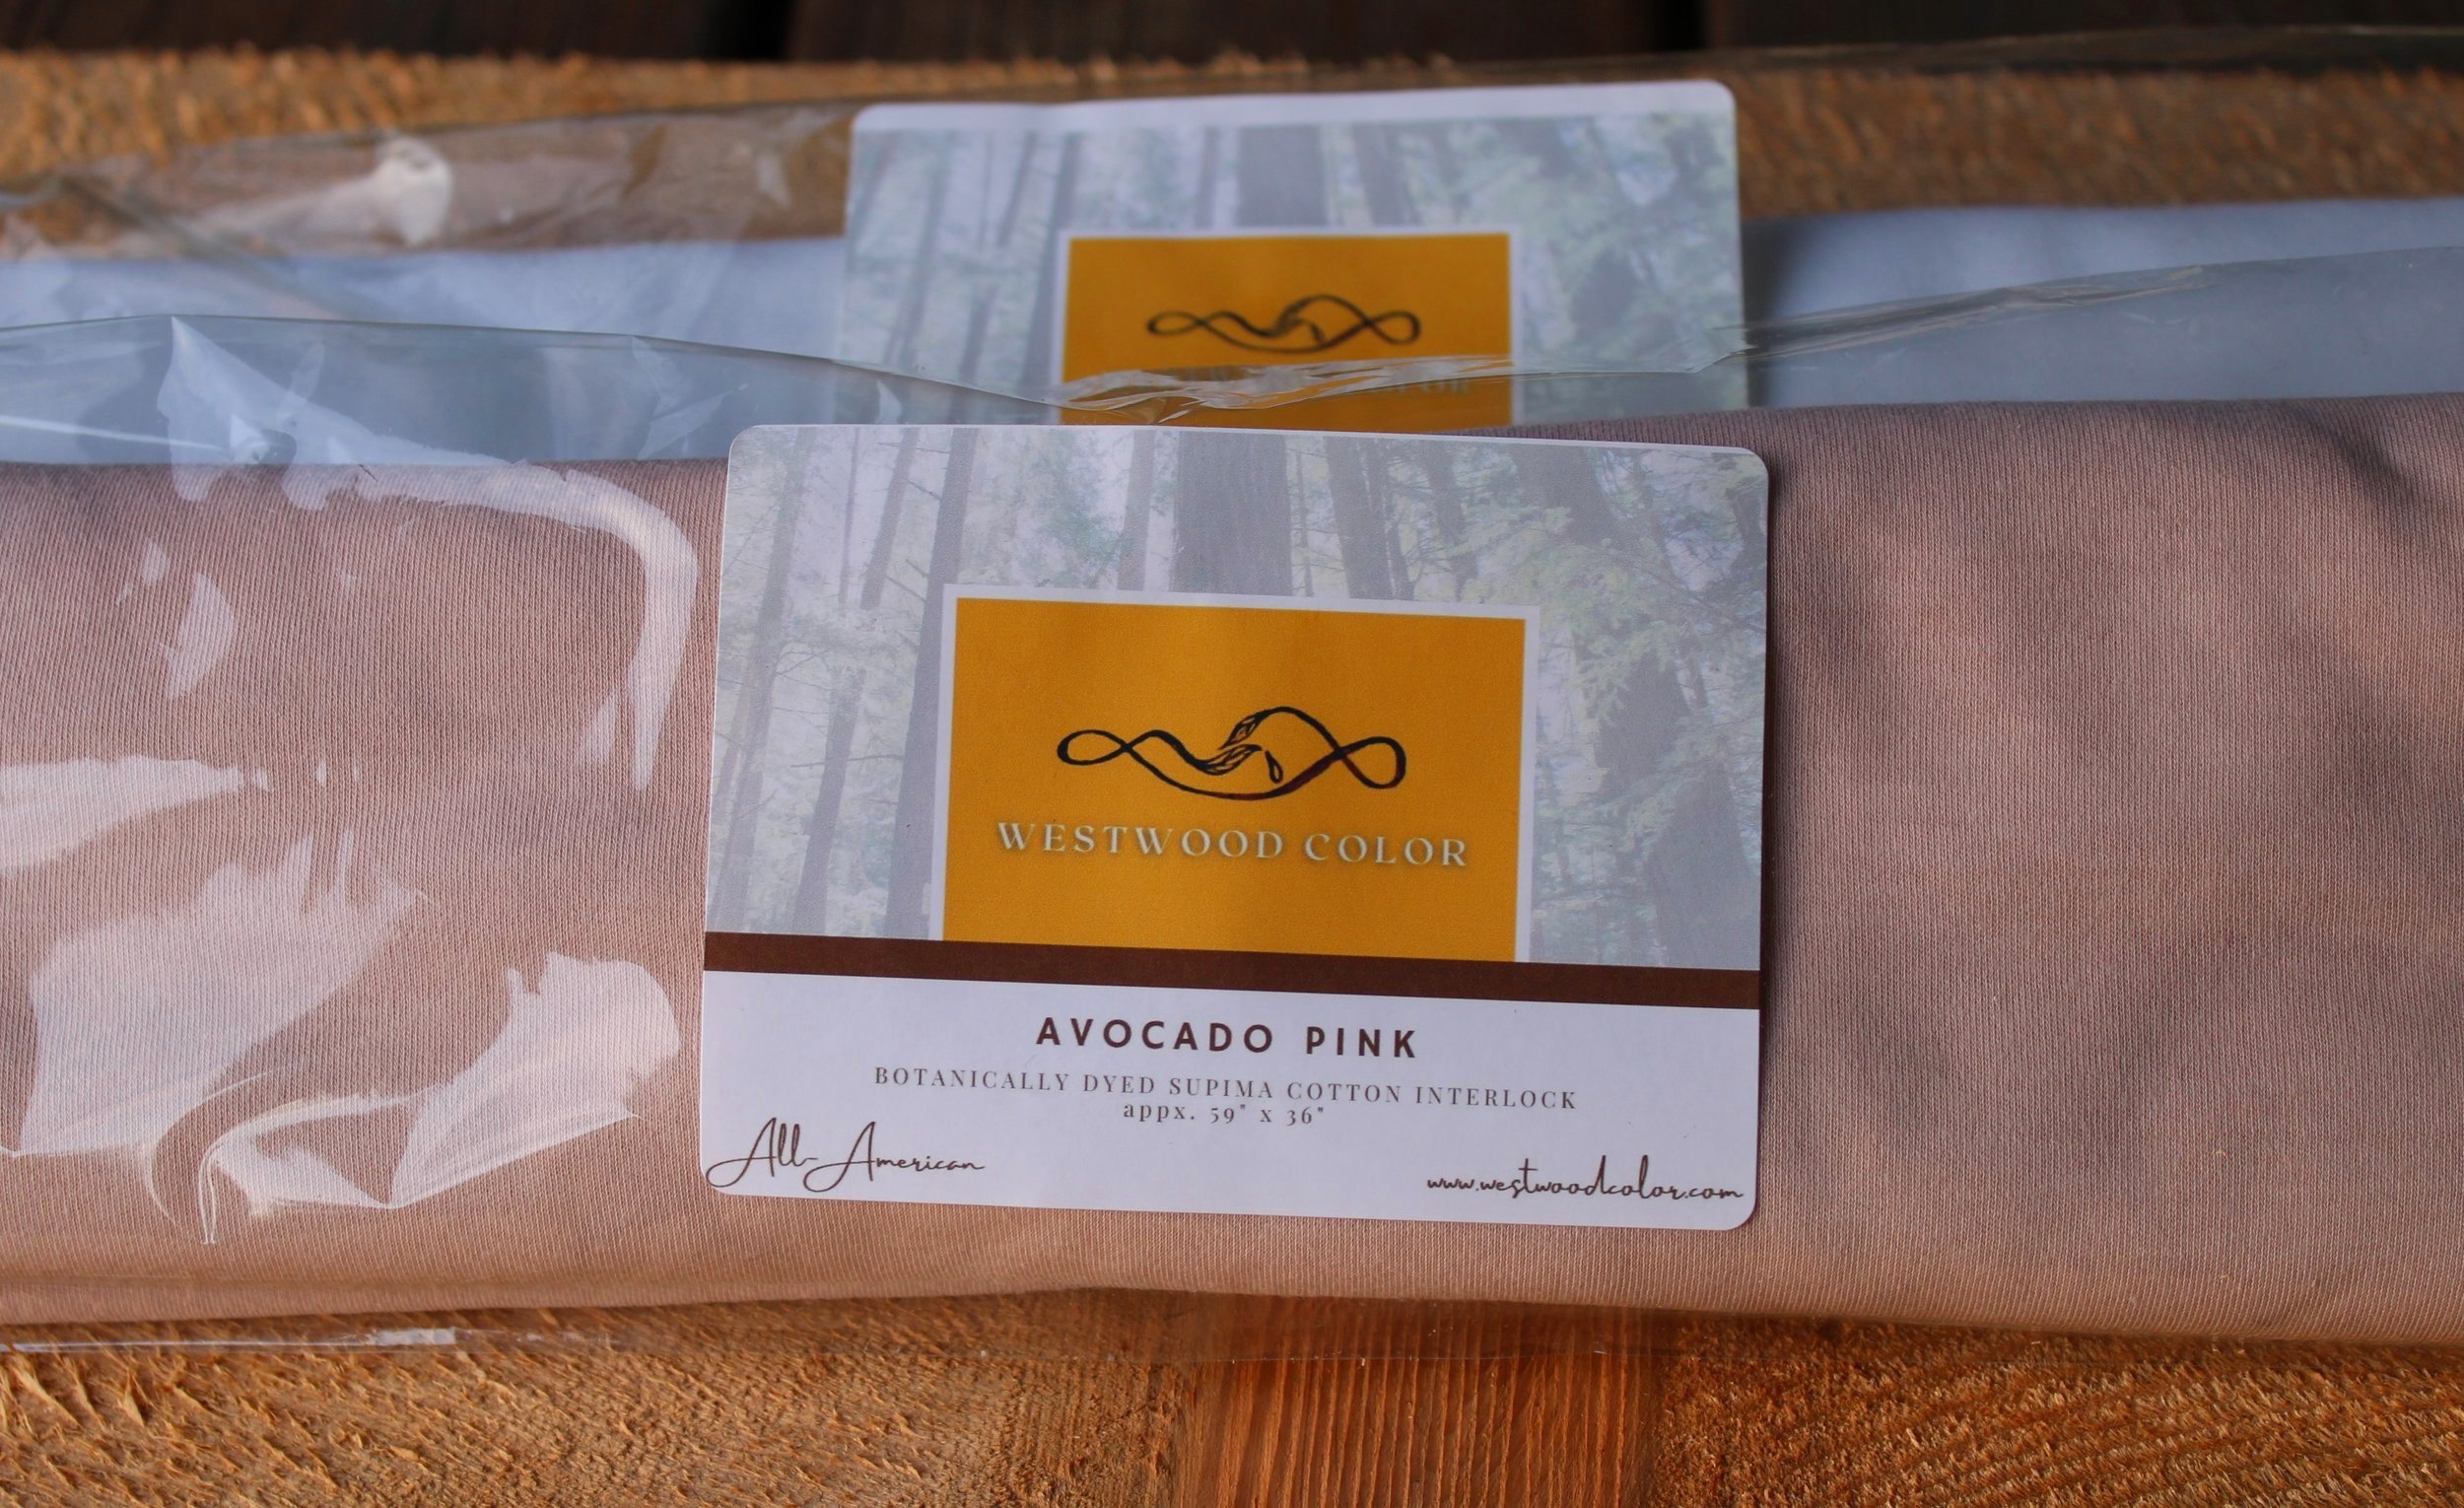
But perhaps patience isn’t your thing and you just want to jump into using a lovely pink cotton fabric right now. Check out my Westwood Color hand dyed fabrics. I use 100% American grown and knit Supima cotton interlock- perfect for baby clothing and other casual garments.
Thank you for reading this post. I wish you much adventure in the world of natural color!