
How to create ink from berry pulp

Wild Blackcaps make incredible jellies and bold, vivid inks.
Do you make jelly? Have you ever noticed how gorgeous the cheesecloth is after straining berries? Have you wondered what could be done with the leftover pulp? I've tried a lot of things over the seasons and today I'll share my favorite way to capture the rich hues of the jelly process. Make yourself a gorgeous ink for painting, calligraphy, or staining wood following these basic steps:
Step 1: Make Jelly
I'm going to assume you either know how to make jelly or you have a resource to guide you through this part. (I learned most of my jelly and jam techniques from a used copy of Chez Madelaine's Gourmet Preserves-worth every penny!) After you've strained your berries for a few hours the remaining pulp is usually left with loads of color just waiting to be utilized.

Makes better ink than dye.
This cheesecloth is gorgeous after straining berries, but the color quickly washes out of most fibers.
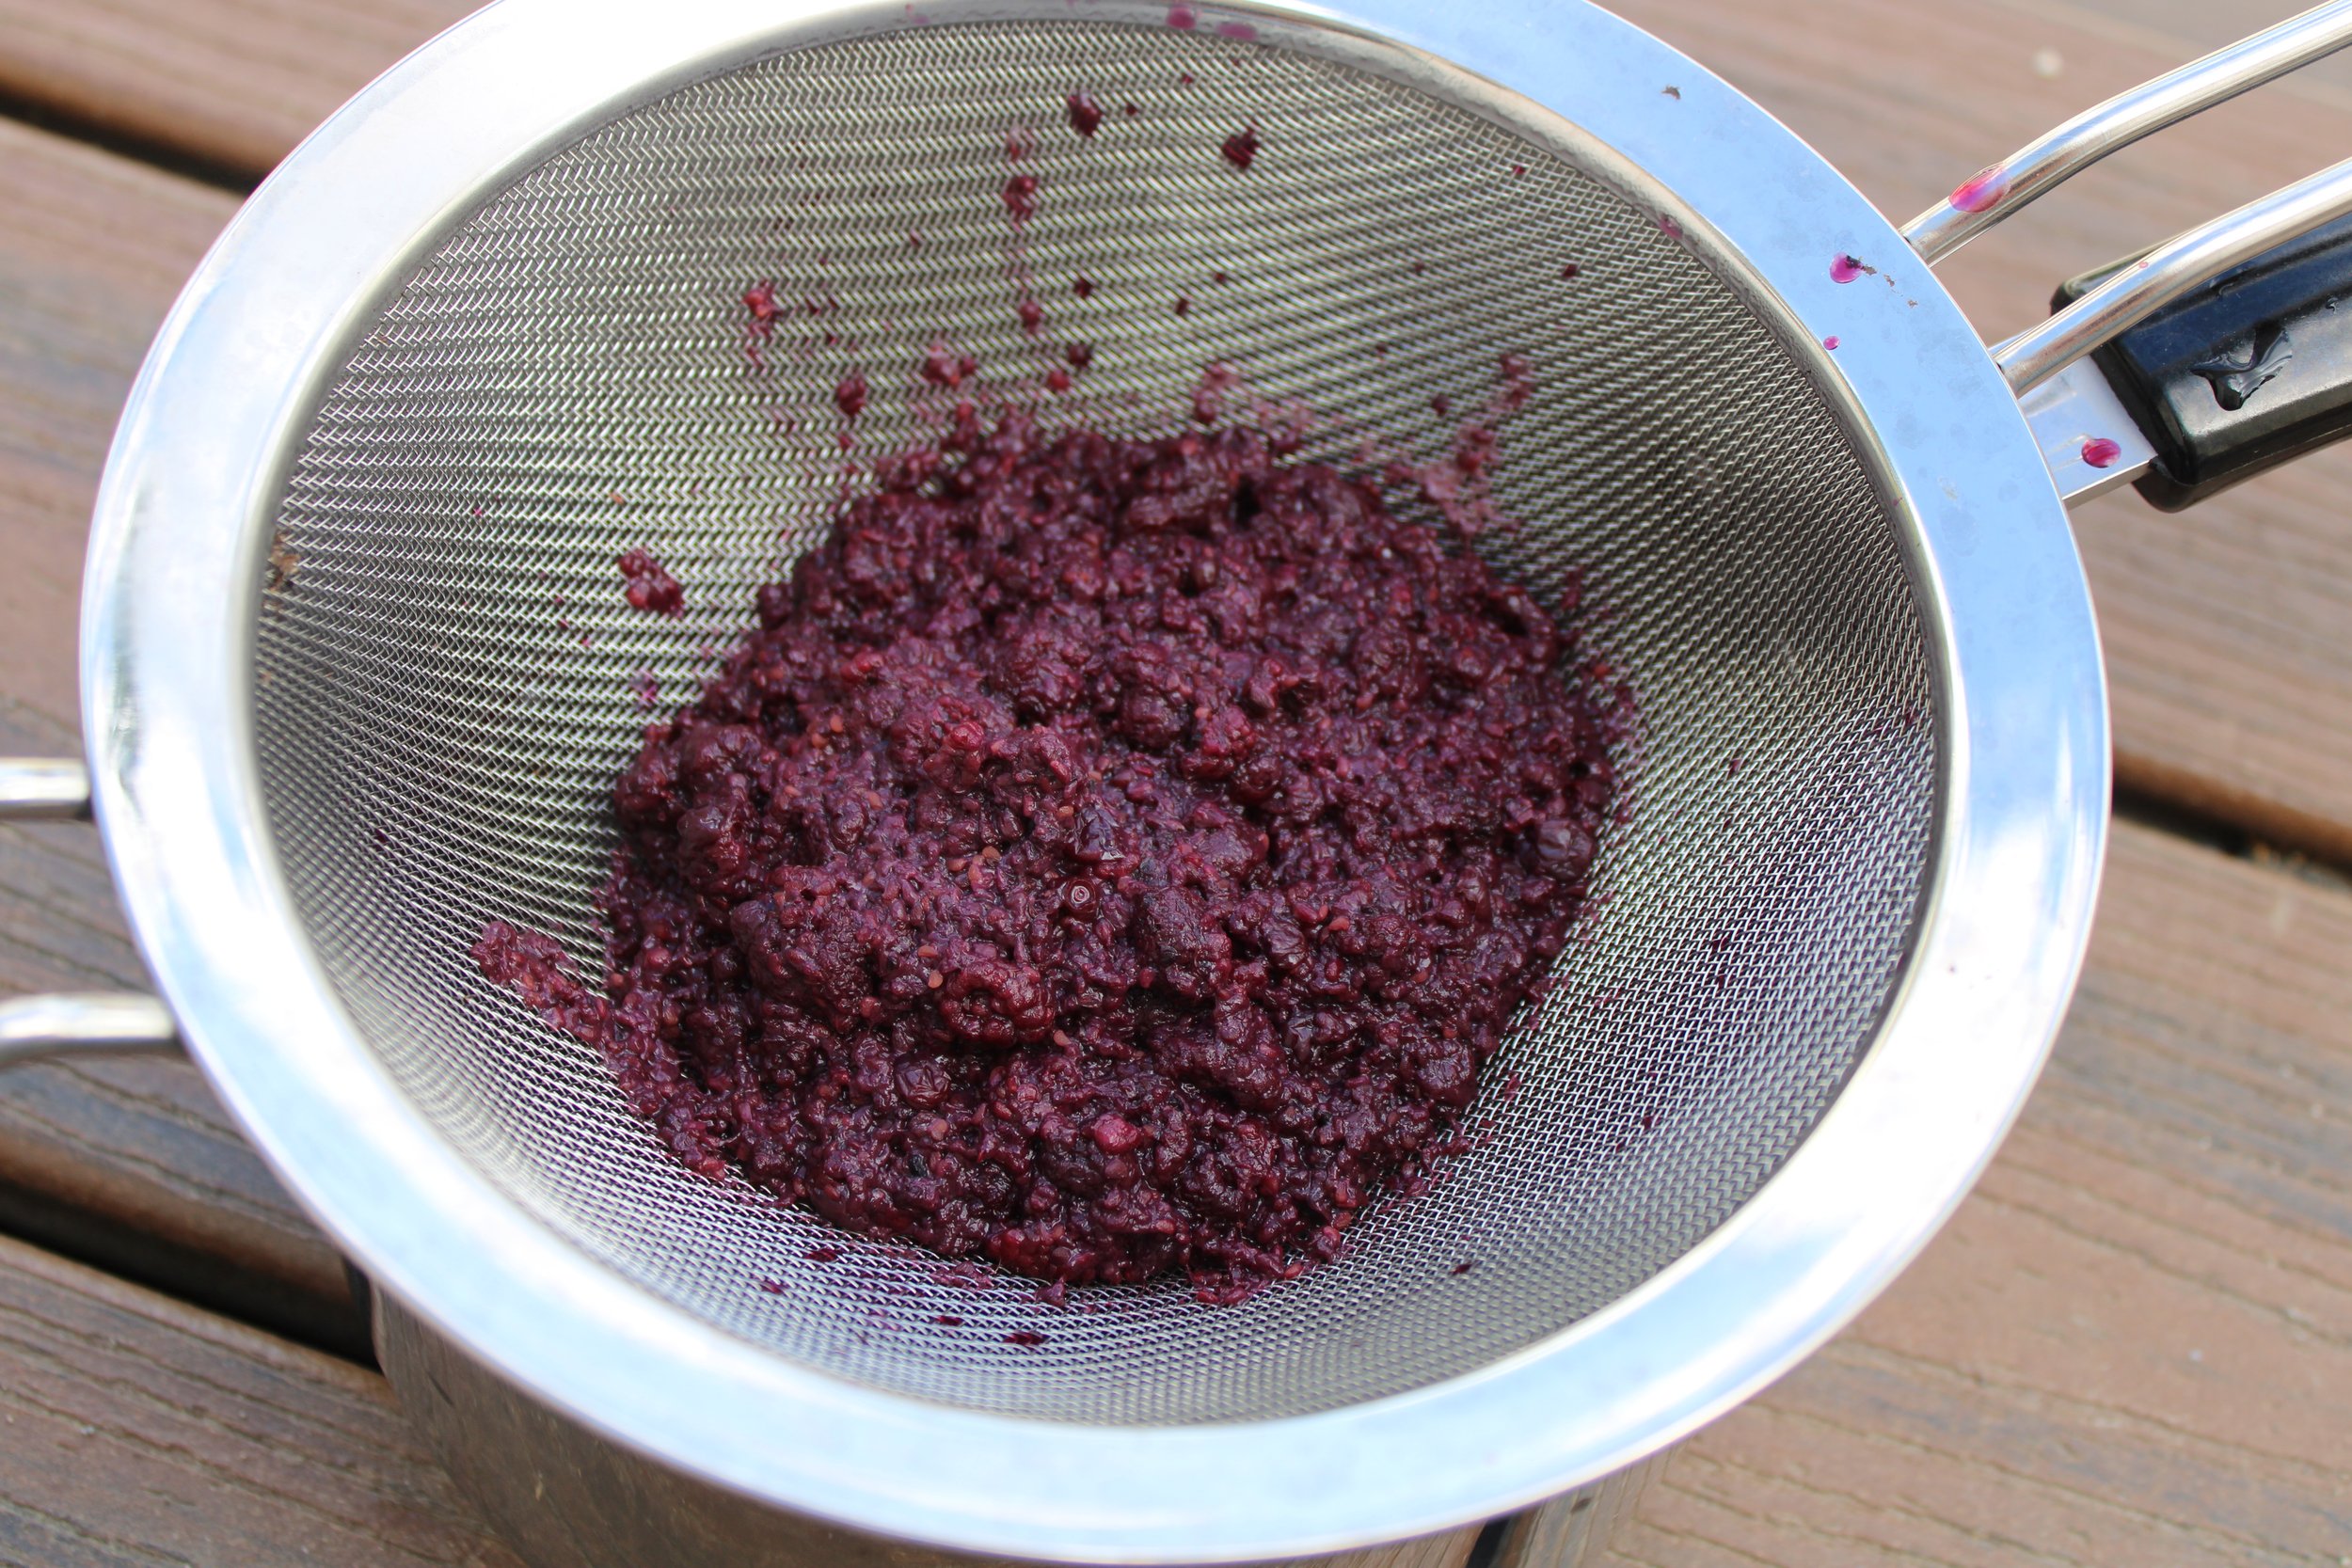
Step 2: Simmer Pulp
Put the strained pulp into a saucepan. I have several little pots dedicated to inks, but this recipe is perfectly safe to do in your daily kitchen ware. Cover the pulp with only enough water to break up the mass and float it around. You can always add more water later, but in the reduction phase (see below) you’ll be glad you didn't over do it. Simmer (please don't boil) for at least 20 minutes. For maximum extraction you can let it rest overnight and bring up to simmer for a few minutes the next day.

Berry pulp simmering in water
Step 3: Optional Additions while Simmering
For berry-based colors add 1 TBSP SALT and 1 TSPB VINEGAR. This treatment will not only reveal the truest color of those particular berries, but it greatly extends the shelf-life of your natural inks.
Alternately, you could use 1 tsp. ALUM. I love the way this brightens ink and it dramatically improves colorfastness of berry colors that are notoriously “fugitive.”
These household modifiers are a good starting point, but endless variations of acids, alkalines, and metal salts will expand your palette.
A mesh sieve works well for separating the solids from the liquid
Step 4: Strain out Solids
At some point the liquid in your pot will look colorful and the pulp will appear washed-out. It's time to strain. I use a mesh sieve for this first strain, knowing that later on I will do one more filtering though something much finer.

Make a test sheet for every batch of ink
Step 5: Reduction
You might find this strained liquid is just the color you’re looking for and you can move on to the next step.
That never happens to me.
I tend to reduce every batch of ink to concentrate the color. So, add that liquid back to a little pot and put over very low heat. Do not boil unless you want to risk dulling your color. Jason Logan, author of Make Ink (a super cool book for enthusiastic beginners) suggests doing this on a wood stove during winter. If you want to take advantage of this strategy, either freeze berries for off-season processing or freeze pulp for off-season ink making.

When you’ve reduced the ink to a shade you like, pour it through a double-layer of cheesecloth or a coffee filter
Step 6: Fine Straining
You will hopefully get to a point where the color pleases you and it can then be filtered though something finer. I like double-layer cheesecloth, but the standard is a coffee filter. The coffee filter can steal a lot of ink and there is no reusing the filter, but it does make a clean, super smooth end-product. Use a rubber band to fix filter material over a sterilized glass jar and pour it though while it's still hot.
Step 7: Binding
You do not need a binder, but it's not really a proper ink recipe without one. The most common binder is powdered Gum Arabic and you'll want to add it when the ink is warm. Start with 1 tsp per cup of ink. Get your brain out and do some math if you do not have a full cup. Add more if you want a thicker ink. And I’ll mention once more, definitely add gum arabic while the ink is warm otherwise this step can take even longer. Agitate it gently until all the clumps are totally incorporated. This can take a few hours, but it always dissolves eventually.
Though gum arabic is easy to come by, Westwood Color Inks is replacing it with our own binder made from local wild cherry sap. The sap is tricky to work with, but its worth it to have such beautiful results from an abundant source growing right alongside our other natural materials. Perhaps you have a fruit tree that could contribute to your ink?

Step 8: preserve with a Whole Clove
There are different ways to preserve ink, but I much prefer plopping in a whole clove. I've never had an ink mold when a clove was present. Cloves are readily available, fairly inexpensive and very easy to use. That said, you can expect Westwood Color to eventually switch over to a method that utilizes our own locally growing plants.

The ink maker’s test sheets are as insightful as they are lovely.
A Word About Sampling
I have a set a flat brushes, a couple of dip pens and a pad of watercolor paper in my kitchen, always at the ready for testing ink. Take the time to test throughout the process even allowing samples to dry before continuing on. The ink will look different with different implements and different paper. You will learn the most by exploring these variables with every batch, but at a minimum, dip a little piece of paper into your pot from time to time!
This simple recipe is a great bonus activity for jelly makers looking to get the most out of their scraps. Check back with us for more tutorials on using colorful kitchen remnants such as peach pits, coffee grounds, and carrot tops.
Westwood Color offers information and supplies to homeschoolers, homesteaders, and artists exploring natural dyes and inks.