
5 natural dyes to harvest in winter
Winter time doesn’t have to halt your natural dyeing projects and even Northerners can forage for colors between arctic blasts, snow storms, and dark nights. So quit making excuses and get outside already.
These are my favorites to keep the dye pots warm during the coldest times of the year:
Fruit Tree Bark- great for days when it’s not solidly frozen
So, I know you are busy, busy pruning your fruit trees before they awaken from their peaceful winter naps. Oh, really? You need a bit of motivation to get outside and get it done? Would it help to know fruit tree barks are full of pretty pastels that happily dye natural fibers? It’s true!
Apple- produces a wide range of peach, yellowy-tan, brown and even olive-green
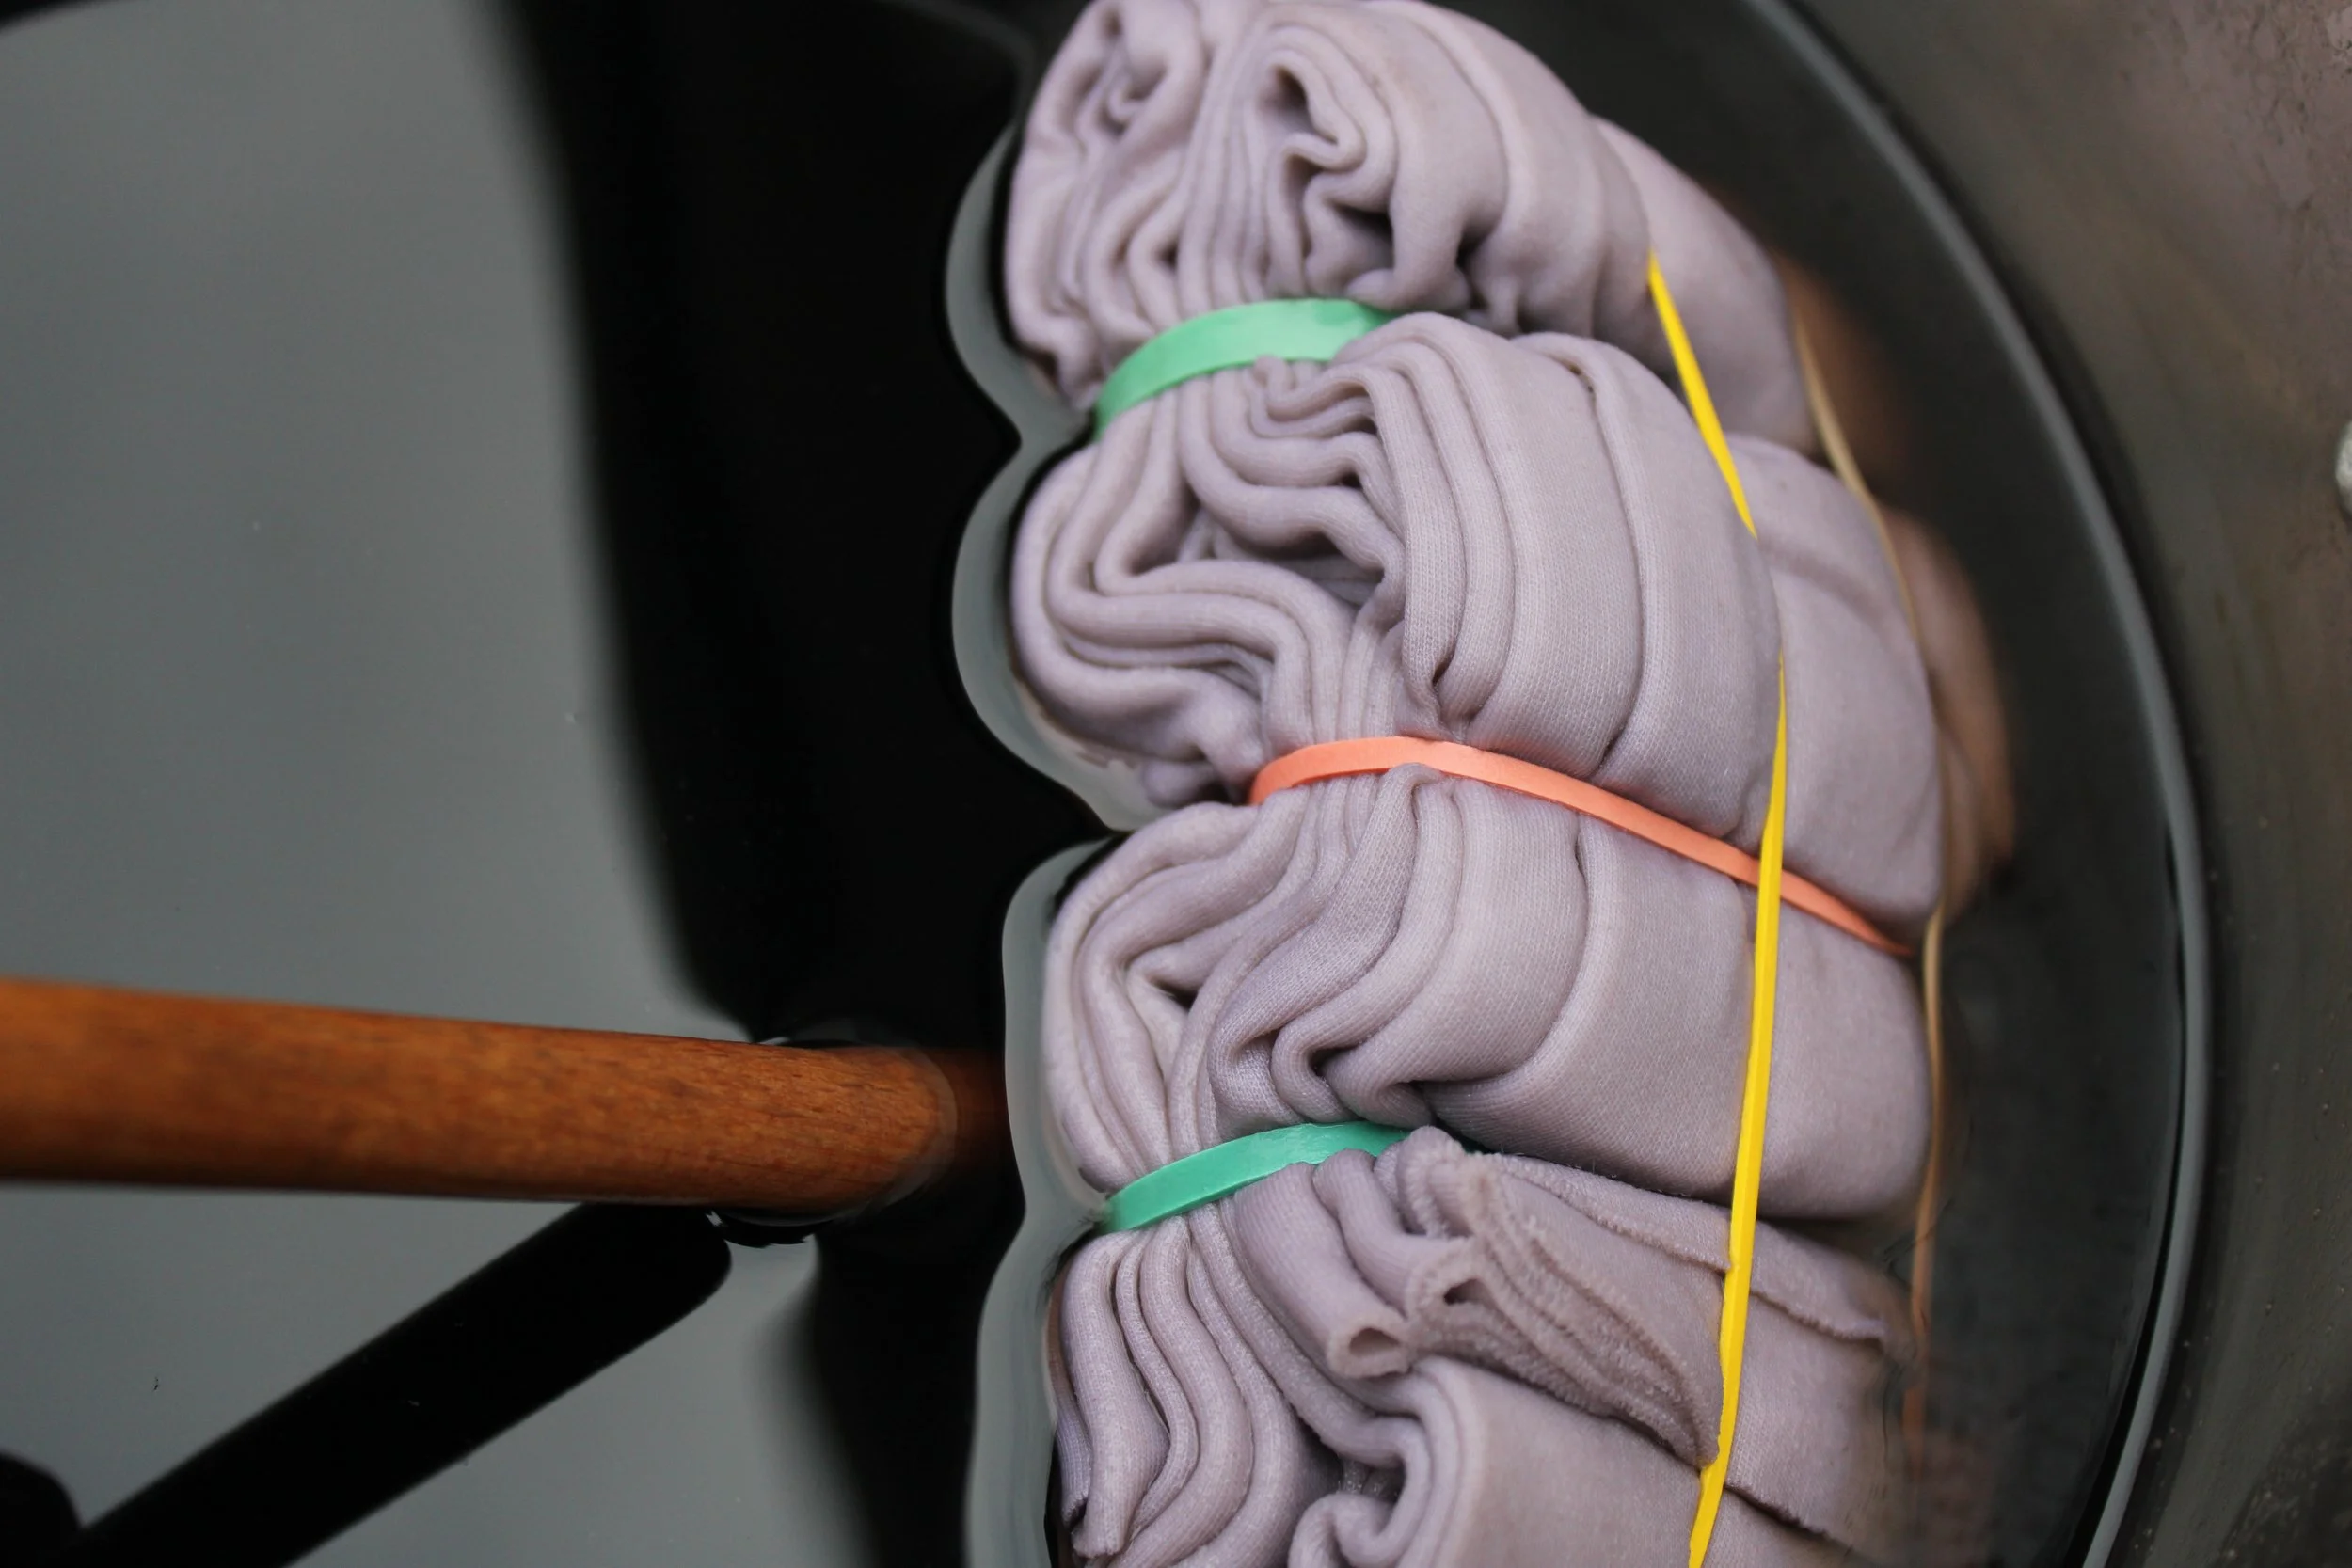
Pear- pinks and mauves
Plum- pinks, purples, purple-gray
Cherry- pinks, purples, gray
There are plenty more for this list (peach, apricot, elderberry, etc…), but these are my favorites
Here’s what I do: I clip prunings into the smallest pieces I can. Pour hot water over these bits and allow them to soak for, oh say, a week, longer if you really want to do this right. Strain the liquid well (tiny bits of random minerals can mar up your gorgeous dye job). This liquid is your dye bath. I always apply cool when possible otherwise you’ll get more tan and less pinky-purple. Whatever you do, never go beyond a simmer.
2. Oregon Grape- perfect for lightly frozen days or if you have a bit of snow on the ground
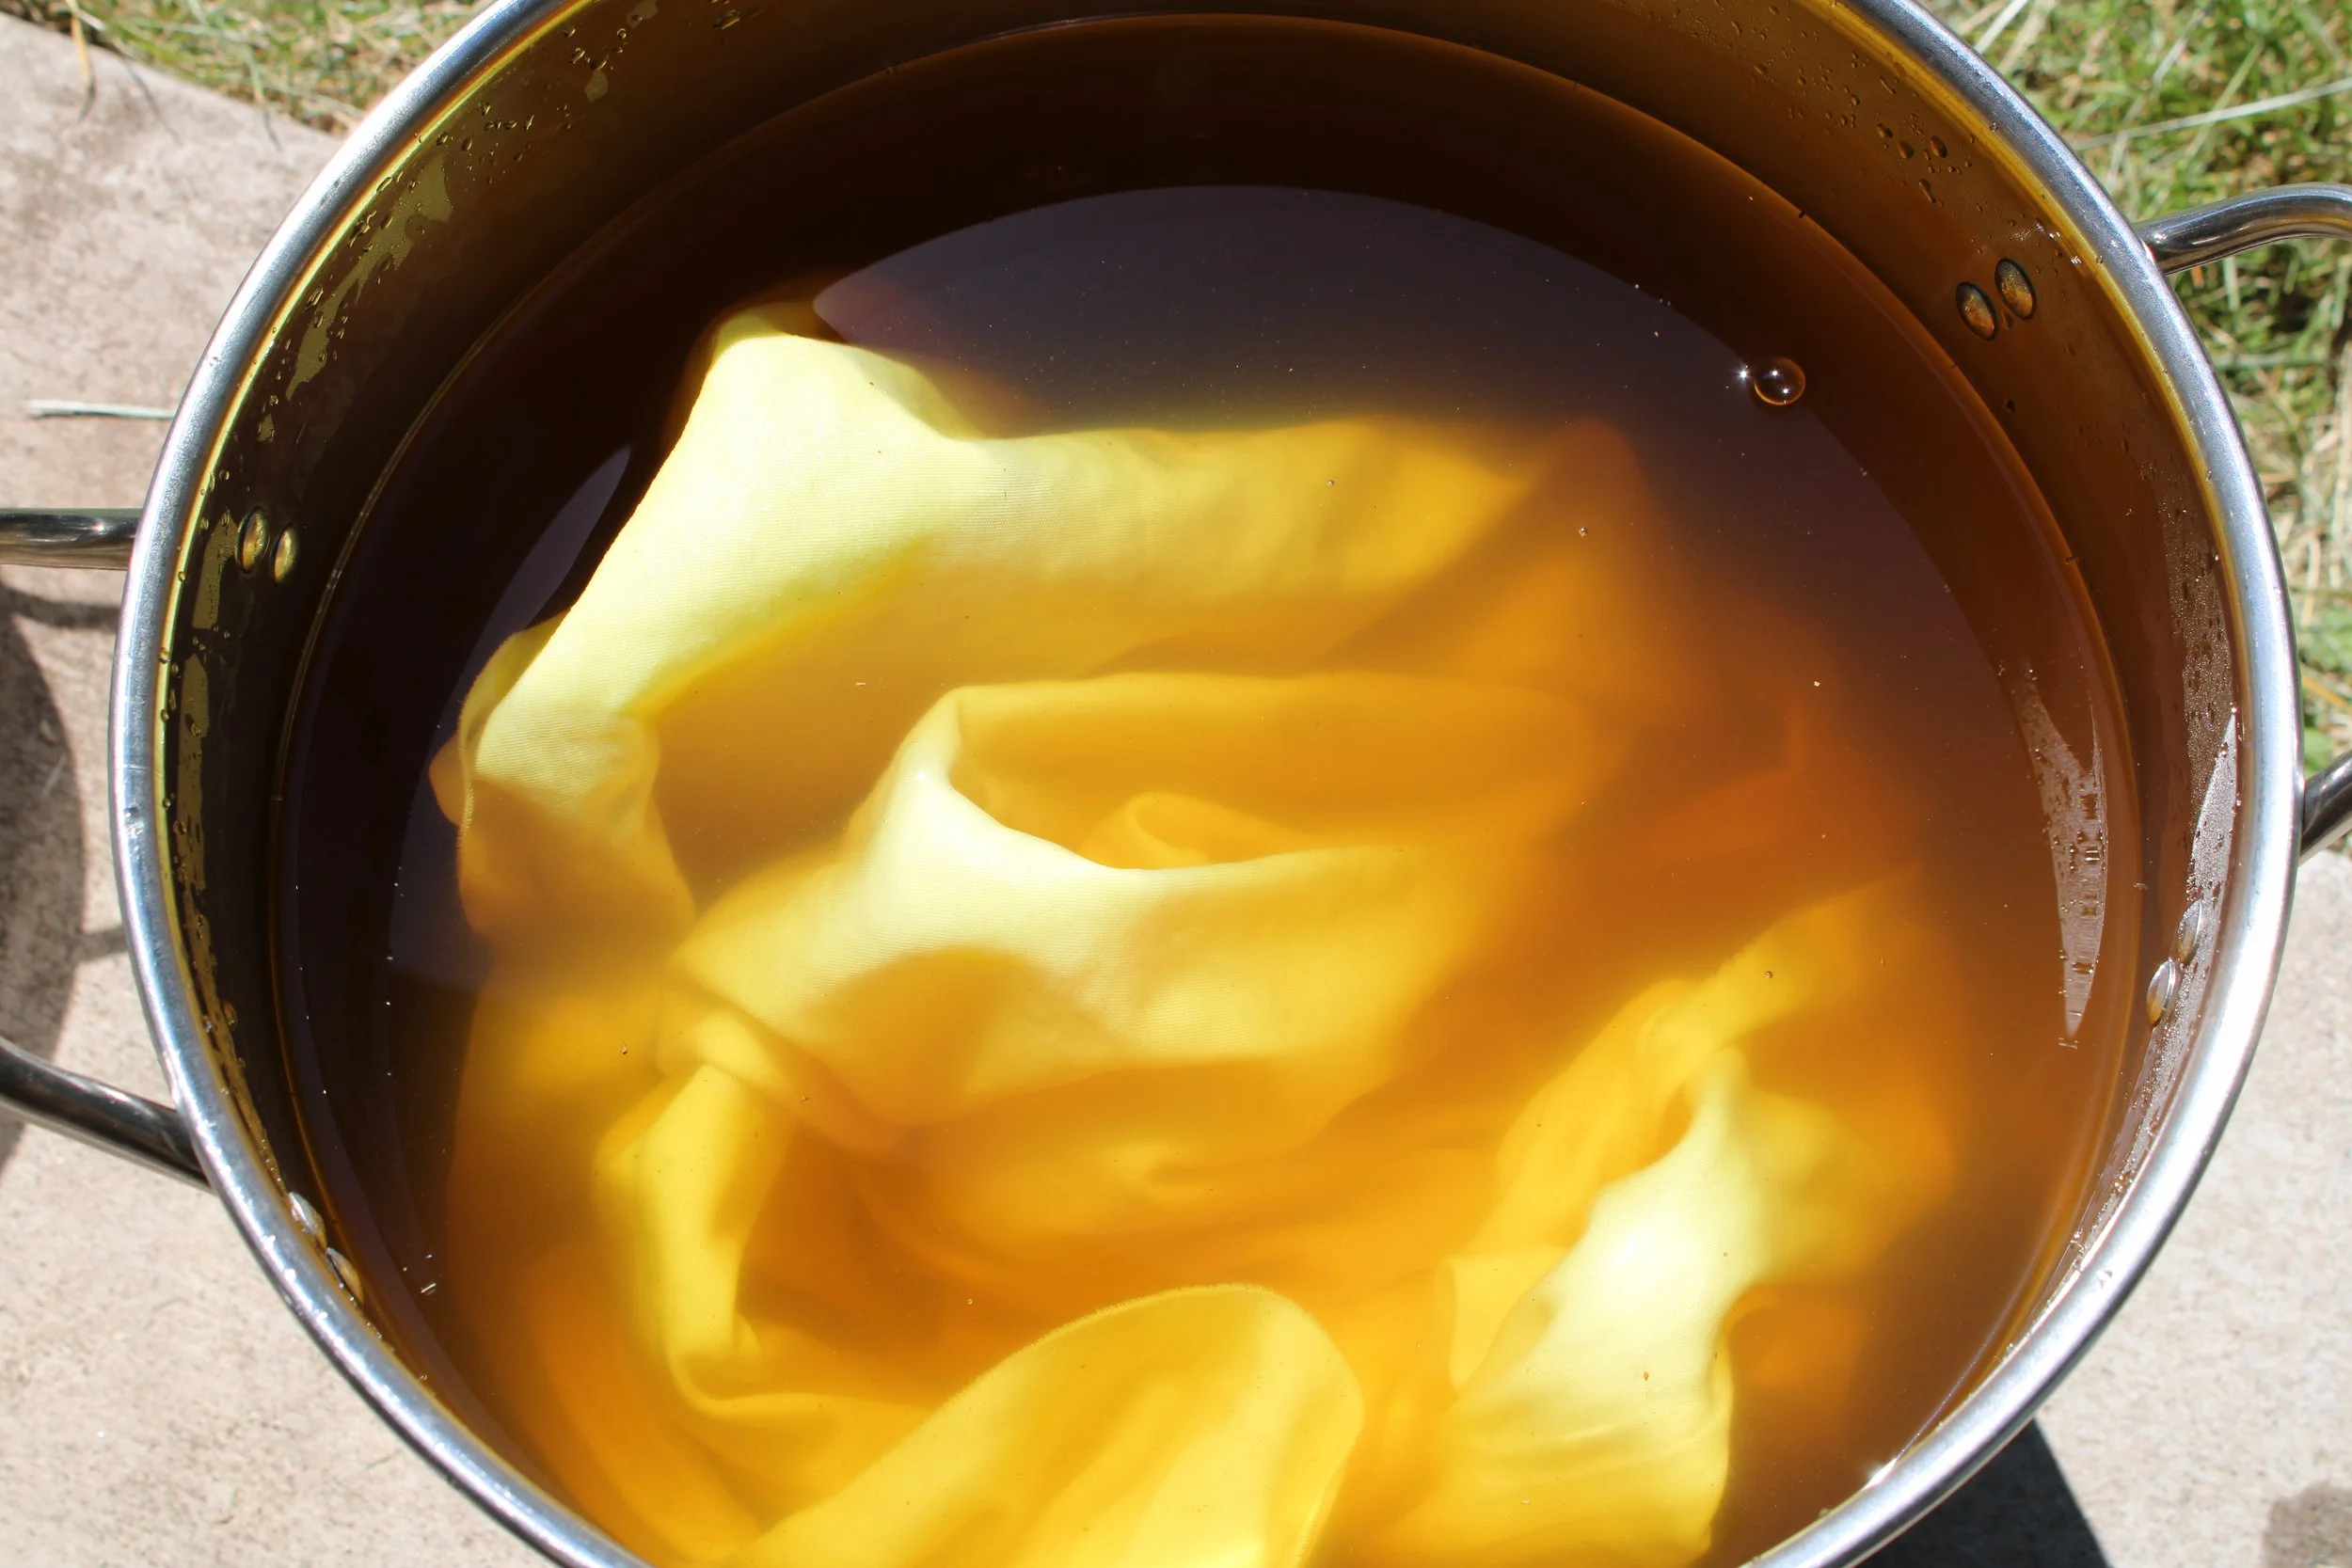
I’ve seen lots of dyer’s use Mahonia berries (for pale purples), but I am more impressed by the yellow produced by the roots. If you are concerned about killing the plant by harvesting roots or perhaps the weather conditions simply won’t allow you access to the roots, you can use the foliage. The leaves gives super-soft shades of peach, yellow, or green.
Back to the roots- simply dig up a few pieces, scrub well, and cut into chunks. Simmer (no boiling) for thirty minutes and let cool overnight. In the next day or so, heat the bath up again. If the bath appears sufficiently yellow, strain out the roots and add fibers to the strained liquid. Hold temperature for an hour and let the fibers cool in the bath.
3. Alder Cones, Catkins, and Bark- can be harvested even in ice and snow
The Red Alder of the Pacific Northwest is truly a wonderful tree, despite it’s reputation as a total nuisance weed. That said, its “weedy-ness” means you can pretty much harvest whatever you like from a specimen, knowing you probably won’t hurt anything.
Bark- bright oranges, tans, and black. Soak the bark for at least a week before straining into a dye bath.
Cones- creamy tans and grays. Pour hot water over cones. You can use after an hour or so, but allowing the cones to soak make a richer dye bath.
Catkins- greens and tans. Simmer (remember no boiling) for an hour and either let it cool over night or simply strain and use while its hot. (And yes, I do know these are technically cones, but we all refer to them as catkins around here)

Extra Tips:
Don’t rush it. Your dye stuff will dye more fibers and dye deeper shades if you give it time to steep. Some dyer’s allow barks to soak for months. I do this and it really works! They same rule applies to dyeing fibers-the longer they remain in the bath the richer the colors.
Dry your extra dye materials if you can’t use it immediately. Barks are best if peeled from the woody layer. Be warned that catkins drop a ton of pollen as they dry.
No mordant, no problem. The list above is a tannin-rich crowd that really doesn’t require a mordant, and I often use the barks to pretreat cotton fibers before dropping them into other dyes.
If you can’t get out and harvest your own color, you can always do your foraging at Westwood Color. We’re happy to share.